 myfavouritepastime.com")
I found these buns from my friend Jhuls who apparently calls herself the not-so-creative cook. I don’t know why, because she is very creative in writing and baking as well. These buns are extra, extra soft and easy to make. I had mine for breakfast with some egg and mung beans (green grams). It was a memorable breakfast. I wish you a very pleasant week!
 myfavouritepastime.com")
 myfavouritepastime.com")
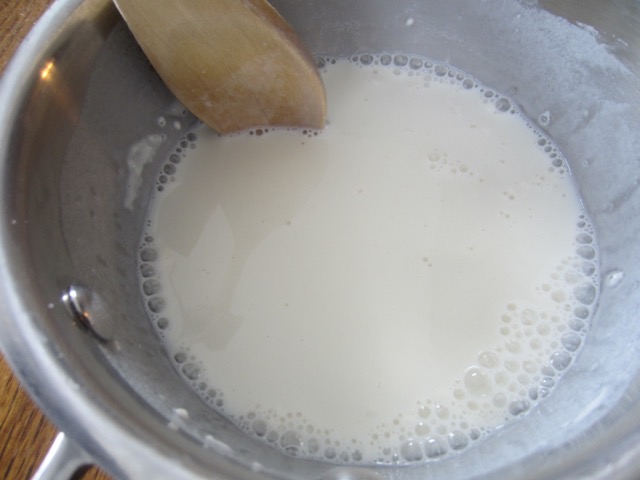
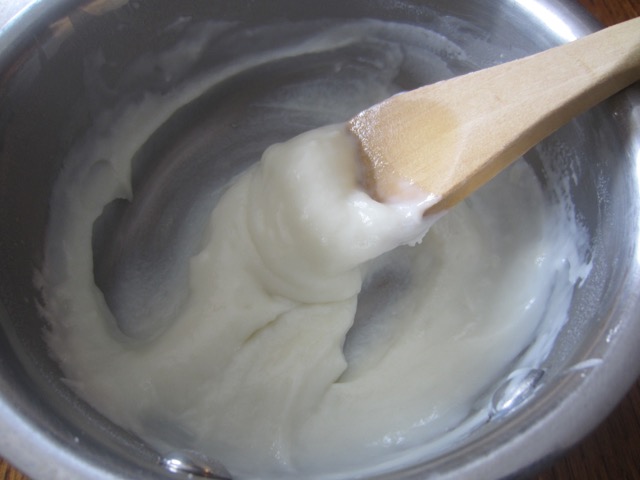
To make tangzhong or milk roux: mix the ½ cup milk with 20g flour in a small saucepan and stir with a wooden spoon until completely mixed. Heat the mixture on the stove stop over high heat stirring constantly until it comes to a boil and thickens. Immediately remove from heat (do not burn it).
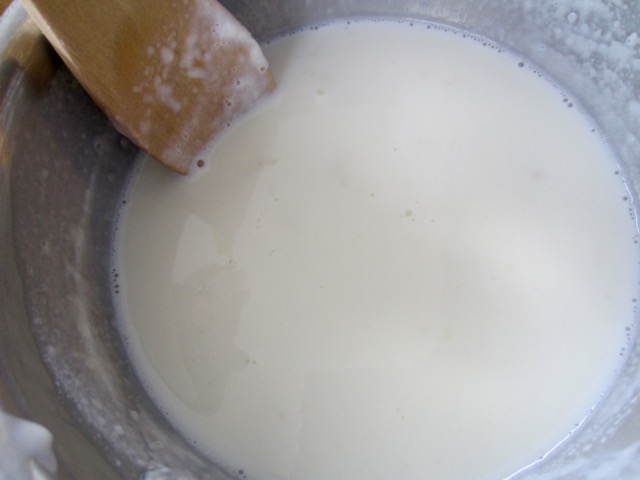
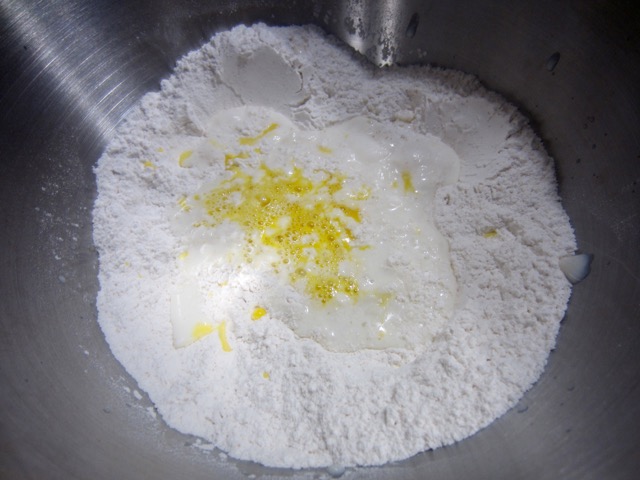
Stage one: Add the evaporated milk to the roux and stir for 5-10 minutes until it cools down considerably (it will have lumps but do not worry). Add the beaten egg and roux mixture to the flour
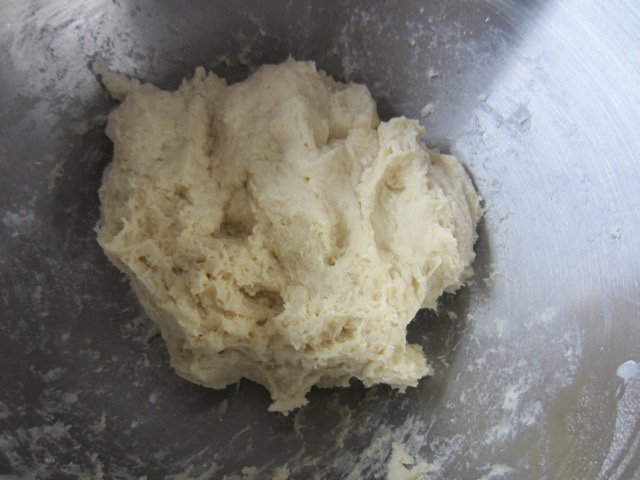

mix with the dough hook on minimum speed until the dough comes together, 1-2 minutes. Cover with a kitchen towel and let rest for 20 minutes. Follow steps for adding butter and sugar then knead and form the dough into a ball.
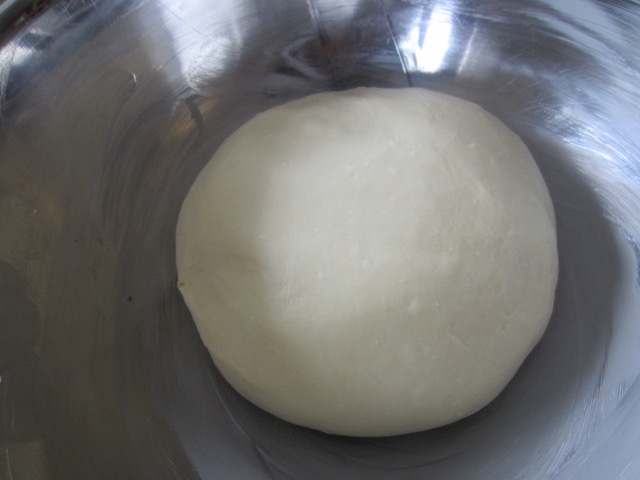
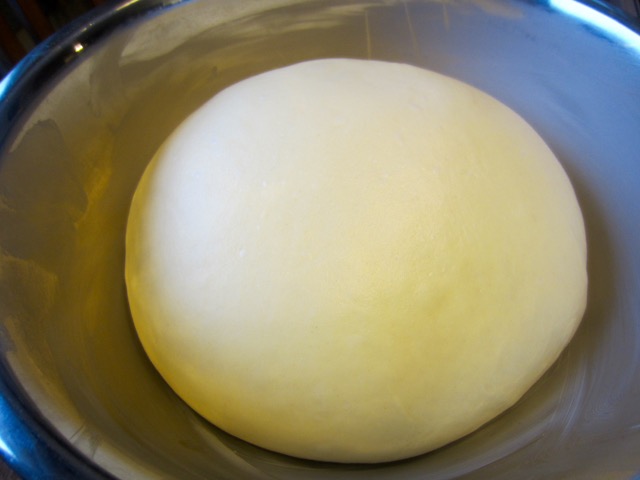
Cover the dough cling film and leave in a warm place for one hour or until dough is doubled in size.
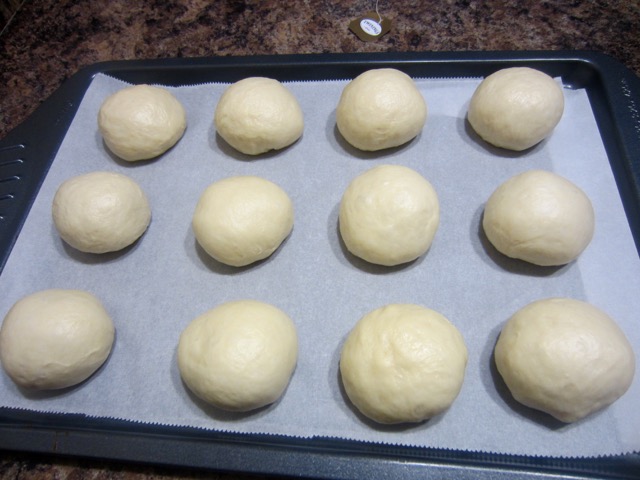
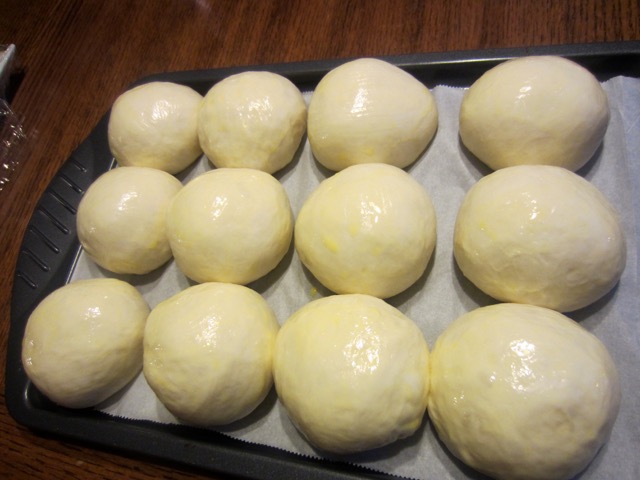
Knock back the dough and divide into 12 pieces (56g/2oz). Form into balls and arrange on a 13 x 9 inch (33 x 23 cm) baking pan. Cover for about one hour or until doubled in size. Brush with egg wash and transfer into the oven
 myfavouritepastime.com")
Immediately reduce the temperature to 350ºF (180ºC) and bake for 15-18 minutes or until golden on top.
 myfavouritepastime.com")
 myfavouritepastime.com")
Please watch the video before making the buns.
Hokkaido Milk Buns (Soft, Fluffy Asian Buns)
Ingredients for the tangzhong or milk roux
- ½ cup (120 ml) whole milk
- 20g (2 tablespoons) all-purpose flour (bread flour recommended)
Ingredients for the buns
- 320g (2½ cups, 11oz) all-purpose flour ( bread flour recommended)
- 1½ teaspoons Fleischmann’s instant yeast (original recipe called for 2 teaspoons)
- 120ml (½ cup) evaporated milk (I used ¼ cup whole milk mixed with ¼ cup 10% cream)
- 1 large egg, beaten
- 56g (¼ cup, ½ stick, 4 tablespoons, 2oz) unsalted butter, softened
- 1 teaspoon salt (original recipe called for ½ teaspoon)
- 2-4 tablespoons fine granulated sugar (I used 2 tablespoons)
Instructions
- Preheat the oven to 375ºF (190ºC) ten minutes before using. Mix the 320g flour with yeast in the bowl of a stand mixer. Make a well in the centre and set aside. (Speeds based on Kenwood stand mixer)
- To make tangzhong or milk roux: mix the ½ cup milk with 20g flour in a small saucepan and stir with a wooden spoon until completely mixed. Heat the mixture on the stove stop over high heat stirring constantly until it comes to a boil and thickens. Immediately remove from heat (do not burn it).
- Stage one: Add the evaporated milk to the roux and stir for 5-10 minutes until it cools down considerably (it will have lumps but do not worry). Add the beaten egg and roux mixture to the flour, and mix with the dough hook on minimum speed until the dough comes together, 1-2 minutes. Cover with a kitchen towel and let rest for 20 minutes.
- Adding salt and sugar: turn the mixer back on on and gradually add the salt and sugar as you continue mixing. Once incorporated beat for another 5-6 minutes or until the dough is smooth.
- Adding the butter: turn the mixer back on and gradually add the butter with the motor running. Once all the butter is added continue kneading until the mixture becomes smooth, 7-8 minutes. (at first it will look like a mess but just continue mixing).
- Remove the dough and knead 2-3 times on the counter top, form into a ball, and place in a lightly buttered bowl. Cover with cling film and leave in a warm place for one hour or until dough is doubled in size. Knock back the dough and divide into 12 pieces (56g/20z). Form into balls and arrange on a 13 x 9 inch (33 x 23 cm) baking pan. Cover for about one hour or until doubled in size. Brush with egg wash and transfer into the oven (Brushing with egg is optional). Immediately reduce the temperature to 350ºF (180ºC) and bake for 15-18 minutes or until golden on top.
- For cup measures: spoon the flour into the cup, heaping it up over the top, then slide a knife across the top to level off the extra. Be careful not to shake or tap the cup to settle down the flour or you will have more than you need. I use a 240ml American cup.
- Last Updated: December 10, 2020
myfavouritepastime.com


Noticed that the amounts for salt and yeast differ from the video. Which one is correct? Thanks so much. Making these right now with 2 tsp yeast (video) and 1 tsp salt (recipe).
Hello Carol
I reduced the salt to suit me and I also reduced the yeast because of the brand I use. 2 tsp is way too much. It will depend on the brand you’re using. I find most people usually use way to much yeast for nothing.
Just try and find out what works best for you.
Thanks, stay safe!
Liz
Thanks Liz. I got rave reviews from my family. The buns were excellent even after a couple of days. I don’t know if I’ll reduce the salt and yeast because they were so good this way. Your recipe and video are very helpful.
Hello Carol
Thank you so much for the feedback. You have made my day. I am so happy that the recipe turned out well for you and your family members liked it. Have a wonderful week and stay safe!!
Liz
Liz, your buns look so beautiful and I am sure they are delicious. 😀
Thank you so much for the mention and for trying the recipe. I am very happy that you enjoyed them. 🙂
They were delicious. Soft and fluffy and addictive. I have made them two more times. Pleasant week to you.
Liz
Ooooooh, those look like yeasty pillows of deliciousness! -Kat
Yes they were pillowy and delicious. I am planning on making them, again soon.
Liz
alrright, I am on the Keto life most the time but this, this I gotta try once I am getting a non keto day in again!! Totally yummy and yeah, I love good food lol.
Give me feedback please!
Liz
Hey amazing blog. Following kindly follow back please
Thank you for following me!!!
Liz